The Antique Restoration Beginner Guide: Preserving History Without Destroying Value
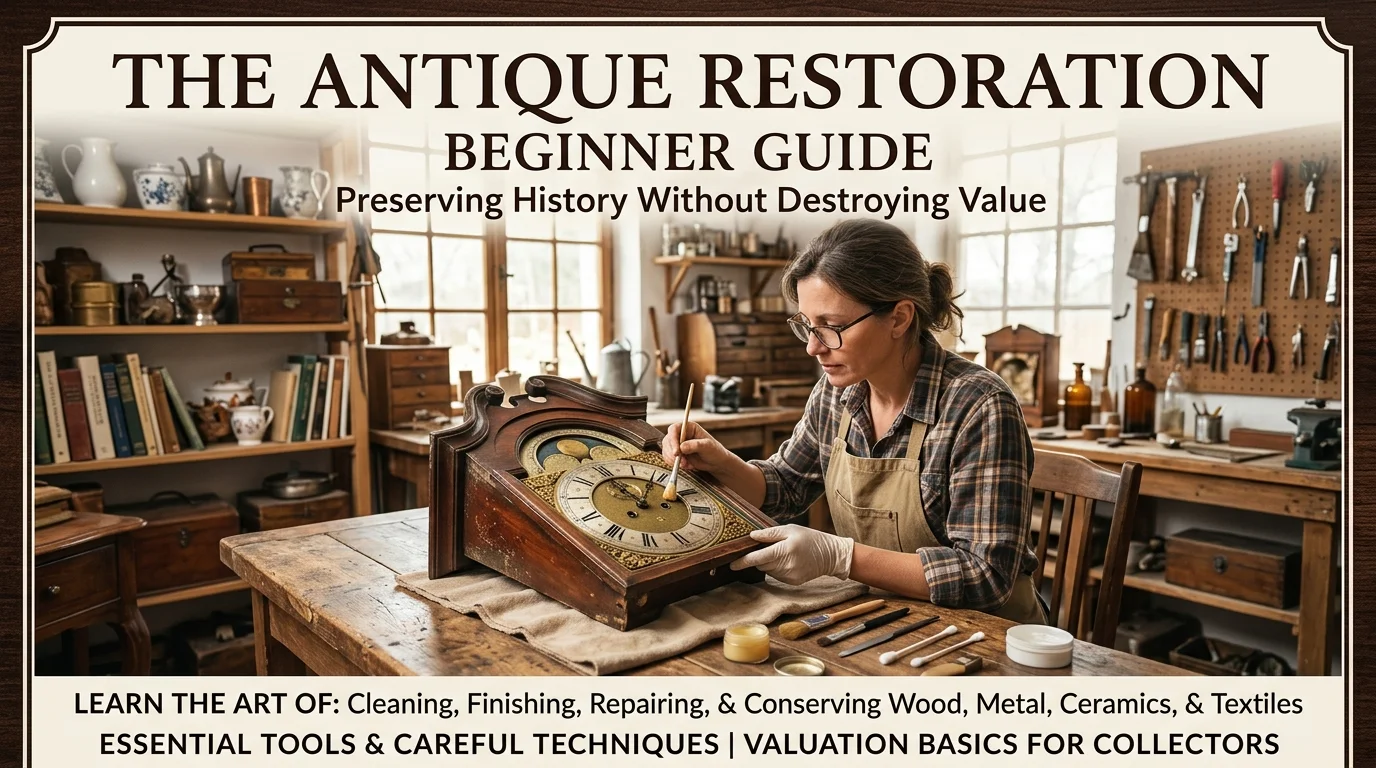
Antique restoration is more than a hobby—it is a conversation with history. Each piece of vintage furniture carries the marks of time, craftsmanship, and countless hands that have touched it before you . For the beginner, the world of antique restoration can seem daunting. One wrong move with sandpaper or a chemical stripper can erase centuries of character in seconds. However, with the right knowledge, patience, and respect for the original piece, anyone can learn to bring forgotten treasures back to life.
This comprehensive guide will walk you through everything you need to know as a beginner, from understanding what makes a piece worth restoring to mastering basic techniques that preserve rather than destroy value.
Understanding What You Have Before You Begin
The first and most critical step in any restoration project is understanding exactly what you are working with. Before you touch a single tool, you need to assess the age, materials, construction methods, and original finish of your piece .
Identifying Your Piece
Look for maker’s marks, labels, or hallmarks. These are often hidden on the underside of furniture, inside drawers, or beneath upholstery. Take photographs of your piece from every angle before you begin. This serves as both a record and a guide if you need to reassemble items after repairs .
Get familiar with Google Lens or similar identification tools. These are reliable and affordable ways to identify antique furniture and understand its origins .
Testing the Finish
Before applying any cleaning or restoration product, you must determine what type of finish is on the wood. Justin Ball, curator of the Museum of Texas Handmade Furniture, recommends testing an unseen area such as the interior of a drawer .
Using a cotton swab dipped in denatured alcohol (wear protective goggles and gloves), swab a small hidden area. The reaction tells you everything:
- If the finish vaporizes, it has a varnish finish
- If it comes completely off, it has a shellac finish
- If it smudges, it has a wax application over varnish
- If it soaks into the wood, it is bare wood
Understanding the finish type determines which cleaning and restoration methods are safe to use.
When to Restore and When to Leave Alone
Not every antique needs restoration, and not every piece should be restored. Knowing when to intervene is a skill that comes with experience.
Signs of a Good Restoration Candidate
A great candidate for restoration is usually a piece that is solid at heart but looks tired on the outside. Age alone does not decide whether a piece should be restored. Mid-century gems might be worth saving, while Victorian and Georgian pieces might simply need a light touch .
The Golden Rules of Restoration
According to Richard A. Lyons, author of “Restoring Antique Furniture,” several fundamental rules guide ethical restoration :
- Repairs should be made from wood of the same age and type whenever possible
- Remove as little of the original stock as possible
- Utilize natural breaks in the design as starting points for repairs
- Never discard any part until the restoration is complete, as it may hold a clue to the original structure
- Restoring means bringing something to its original condition, not improving or changing it
Common Beginner Mistakes That Destroy Value
The most painful lessons in antique restoration come from mistakes that cannot be undone. Learn from others’ errors rather than repeating them.
The Sanding Catastrophe
Never, ever sand an antique unless you absolutely understand what you are doing. Sanding removes not just the finish but the original wood surface, including crisp edges and fine details that give antiques their character and value . Once original patina is gone, it is gone forever.
The Chemical Stripper Disaster
Harsh chemical strippers can melt away old glues and damage the wood beneath. Social media makes restoration look quick and easy, but what you do not see are the irreversible mistakes. Lemon juice, vinegar, and other “miracle” home remedies can leave stains, cause warping, or create corrosion .
The Painting Tragedy
Please tell everyone not to paint antique furniture. Paint soaks into the wood grain and is incredibly difficult to remove without damaging the surface below . While some modern “up-cycling” trends encourage painting old furniture, serious restorers cringe at this practice. The term “up-cycling” sends shivers down the spines of professional restorers .
Essential Tools for the Beginner Restorer
You do not need a full professional workshop to begin restoring antiques. Start with basic hand tools and expand as your skills grow.
Hand Tools Worth Acquiring
Lyons recommends several essential hand tools for the beginner :
- A 14-inch smoothing plane for finishing surfaces without modern tool marks
- A rabbet plane for working in close corners and cutting rabbet joints
- A low-angle block plane (22-degree blade angle) for smoothing end-grain surfaces
- A set of socket chisels in various widths
- A wooden mallet for use with chisels
- A sliding T-bevel for transferring angles
- A 6-inch square for small work
- A marking gauge for hinge placement and mortise-and-tenon joints
Basic Power Tools
When you are ready to invest, consider a table saw, band saw, joiner, scroll saw, and lathe. However, always remove modern tool marks from visible surfaces. The old masters would have used modern tools if they were available, but they would have ensured the final surface showed hand-crafted quality .
Cleaning Antique Wood Furniture Properly
Before any restoration work begins, the piece needs proper cleaning. This alone can reveal hidden beauty.
Dusting the Right Way
The feather duster is your friend. Dust is abrasive and can scratch surfaces over time. Use a lint-free cloth or natural bristle brush for regular dusting. For carved details and moldings, use a small artist’s brush to reach into crevices .
Deep Cleaning Without Damage
For sticky grime that dusting cannot remove, lightly dampen a cloth with distilled water and add a drop of pH-neutral soap. Never soak the wood. Avoid all-purpose furniture sprays, as they leave residues that attract dust or react with old finishes .
For wax-finished pieces, use microfiber cloths with distilled water and mild, unscented hand soap. Microfiber cloths are excellent because they do not leave fibers behind in the wood grain. Buff with the grain, using a damp cloth that is not overly soaked .
For bare wood, Murphy’s Oil Soap works well. To add a protective coating after cleaning, Renaissance Wax Polish (developed by the British Museum) is an excellent choice that can also be used on metal to prevent rusting .
Reviving Dull Finishes Without Stripping
Sometimes a piece does not need refinishing—it needs revival.
Using Microcrystalline Wax
For dull but intact finishes, conservators often favor microcrystalline wax. Apply it sparingly and buff with a soft cloth. This nourishes the finish without removing the original surface or patina .
Removing Water Stains
Water stains are common and stubborn. You can often remove them by continuing to buff the area with a clean cloth in circular motions. Another method involves applying heat with a heat gun or blow dryer, which pulls up moisture trapped under the wax and allows it to rise to the surface .
Dealing with Hardware and Metal Elements
Original hardware is part of the antique’s story. Treat it with respect.
Cleaning Metal Fittings
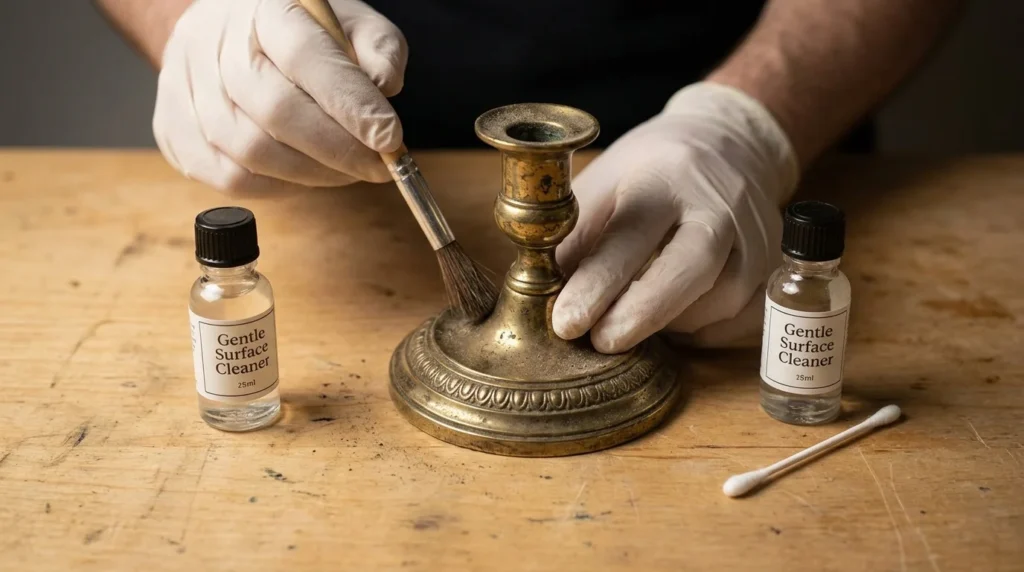
Handles, locks, and hinges can be gently brightened with a non-abrasive metal polish applied sparingly with a cotton bud or cloth. Do not over-polish. Over-polishing strips away the thin layer of oxidation that gives antique metal its desirable patina .
Replacing vs. Preserving
If a part must be replaced, keep the original. Wrap it, label it, and store it safely. This safeguards the piece’s value and authenticity. Future owners or restorers will thank you .
Structural Repairs for Beginners
Not all structural issues require professional intervention. Some can be handled at home with the right approach.
Using Hide Glue Correctly
A slightly wobbly chair leg or loose drawer joint can sometimes be tightened using traditional hide glue. Hide glue is a reversible adhesive that future restorers can work with. Avoid modern PVA glues. While stronger, PVA glues create rigid joints that may split the surrounding wood as it expands and contracts with humidity changes .
Knowing Your Limits
Some repairs require professional expertise. According to the experts at Country Living, you should call a professional for :
- French polishing
- Veneer repair
- Inlay work
- Serious structural issues such as split panels
Restoring Upholstery and Textiles
Antique upholstery requires a delicate touch. The fabrics are often fragile, and the padding underneath (often horsehair, straw, or coir in older pieces) can deteriorate without showing obvious signs .
Cleaning Upholstery Safely
Vacuum using a low-suction setting and a soft brush attachment, working with the direction of the weave. If the fabric feels brittle, hold a piece of muslin cloth over the surface to protect it as you vacuum. This prevents pulling or fraying .
Avoid wet cleaning unless you are certain the fabric can tolerate it. Older textiles often have unstable dyes that will bleed or fade when dampened, and some natural fibers can shrink or distort .
When to Reupholster
If reupholstery becomes necessary, keep and label the original fabric even if it is beyond repair. Future owners may use it to match patterns or confirm authenticity. Torn or weakened historic fabrics and all reupholstery work should be entrusted to a specialist upholsterer .
Documenting Your Restoration Work
Responsible restoration includes keeping records of what you have done.
Keep receipts for materials and write a short account of what work was performed and why. This simple archive helps future owners and valuers understand the piece’s journey. Take photographs at each stage of the restoration process .
If you make non-original changes, document them clearly. Transparency about restoration work actually adds value by demonstrating that the piece has been cared for thoughtfully.
The Philosophy of Restoration
Understanding the “why” behind restoration is as important as the “how.” Furniture is material culture. These objects have a connection to our past .
Some imperfections should remain. When a small pine desk came to the Heritage Society museum, the paint was successfully removed from its exterior, but the cornflower blue color on the interior hutch was left intact. The curator admitted, “I love that these pieces have been used and changed, and each piece tells a story” .
Children’s graffiti inside an old wardrobe? That is not damage to be removed. That is history to be preserved.
Frequently Asked Questions (FAQs)
Q1: How can I tell if a piece of furniture is worth restoring?
A: Consider your purpose. For family heirlooms, sentimental value outweighs monetary considerations. For resale value, assess condition carefully. If as much as one-fourth of the principal parts are missing, the true antique value is likely lost. However, if you are restoring for personal use, almost any solid wood piece is worth the effort—it will typically be better quality and less expensive than buying new .
Q2: Is it ever okay to paint antique furniture?
A: Professional restorers strongly advise against painting antique furniture. Paint soaks into the wood grain and requires aggressive stripping to remove, which damages the surface. However, there is one exception: milk paint (sometimes called buttermilk paint) on primitive pieces. Unlike modern paint, milk paint can be melted off with proper techniques .
Q3: What should I do first when I bring home an antique find?
A: Before searching for tools, search the piece itself. Look for maker’s marks, labels, or hallmarks. Photograph it from every angle. Then clean it gently with a dry cloth first. Test the finish type using denatured alcohol on a hidden spot. Only then should you plan your restoration approach .
Q4: Can I use modern power tools for antique restoration?
A: Yes, but with caution. Modern tools save time and effort, but you must remove any modern tool marks from visible surfaces. Consider finishing by hand with traditional planes to achieve authentic surfaces. Sign your restoration work so future owners know what was done .
Q5: How do I remove pet stains from antique wood?
A: Pet stains are among the toughest to remove. One approach uses a 50/50 solution of mineral spirits and distilled water to thin the original varnish, followed by significant scrubbing and buffing. This is an advanced technique—practice on worthless pieces first .
Q6: What glue should I use for antique furniture repairs?
A: Use traditional hide glue exclusively. It is reversible, meaning future restorers can undo your work if needed. Modern PVA glues (like Elmer’s or Titebond) create rigid joints that can cause the surrounding wood to split over time as the wood expands and contracts .
Q7: How do I practice restoration without ruining valuable pieces?
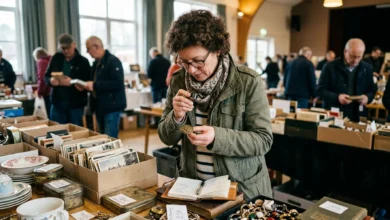
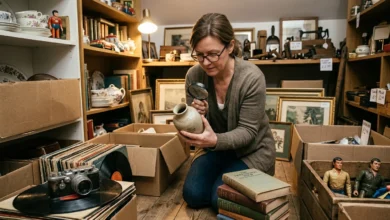
A: Start with worthless objects. Practice on flea market finds, damaged pieces sold for parts, or furniture destined for landfills. Learn to identify different finishes and practice cleaning and waxing before attempting structural repairs .
Conclusion
Antique restoration is a journey, not a destination. The beginner who starts with respect for history, patience with process, and willingness to learn from mistakes will find immense satisfaction in bringing forgotten treasures back to life. Remember the golden rule: preserve, not perfect. The marks of age and craftsmanship are what make antiques valuable. Your role is not to erase history but to ensure it survives for future generations to enjoy.
As you develop your skills, you will learn to see the potential in pieces others discard. That wobbly chair or blackened table might be waiting for someone with the knowledge and care to reveal its true beauty. Start slowly, practice diligently, and always err on the side of doing less rather than more. The wood will thank you, and history will preserve.