Proven Collectible Item Restoration Strategies: A Complete Guide to Preserving Value and Beauty
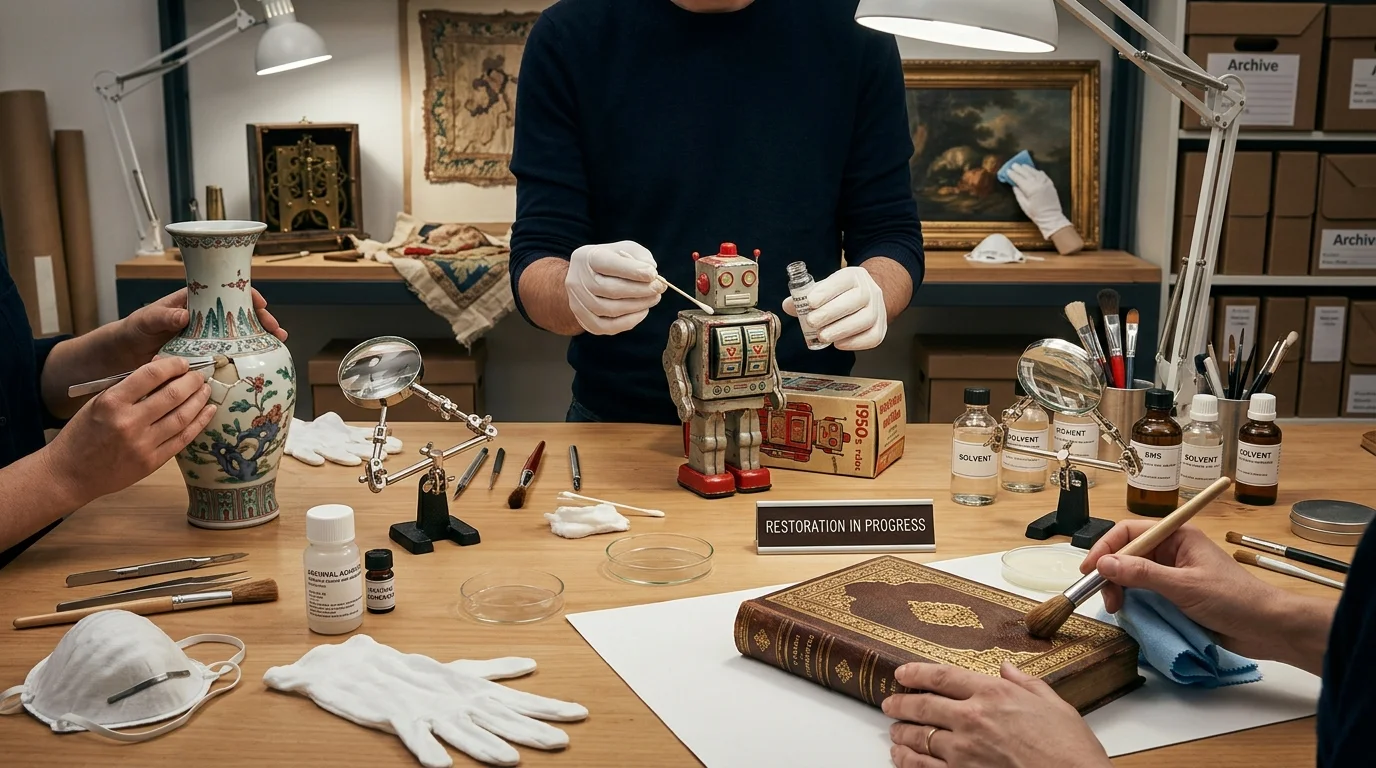
Collectible item restoration strategies are essential knowledge for any serious collector, dealer, or antique enthusiast. Whether you own vintage furniture, classic toys, rare coins, historical documents, or heirloom jewelry, understanding how to properly restore these items can mean the difference between preserving significant value and accidentally destroying it. Many collectors make the critical mistake of using modern cleaning products or aggressive techniques that permanently damage their treasures. This comprehensive guide reveals professional restoration strategies that prioritize reversibility, material sympathy, and historical integrity. You will learn how to assess damage, select appropriate cleaning methods, perform structural repairs, and apply finishes that protect rather than harm. By following these proven strategies, you can extend the life of your collectibles while maintaining or even increasing their market value.
Understanding the Core Principles of Collectible Item Restoration
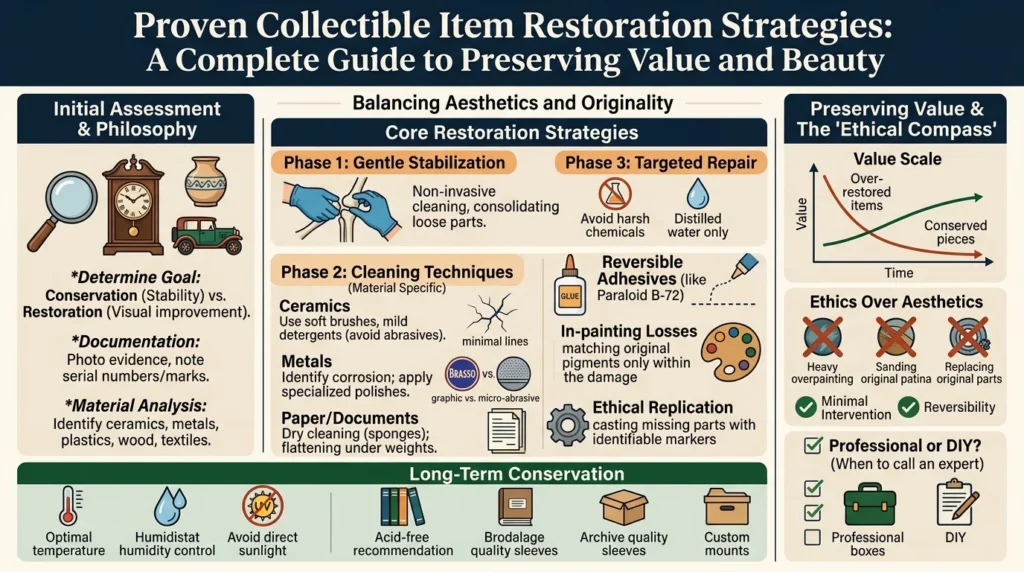
Before implementing any restoration strategy, you must understand three core principles that guide professional conservators worldwide. The first principle is reversibility, meaning any intervention should be removable in the future without damaging the original material. The second principle is minimal intervention, meaning you should only address active deterioration and leave stable original material untouched. The third principle is documentation, meaning you must record every step of the restoration process for future reference. These principles separate professional restoration from amateur repair. When evaluating collectible item restoration strategies, always ask whether a technique respects these three principles. If a method involves permanent adhesives, irreversible cleaning, or unrecorded changes, it is likely inappropriate for valuable collectibles.
Initial Assessment and Condition Reporting
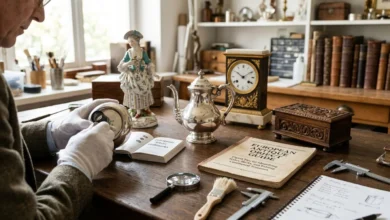
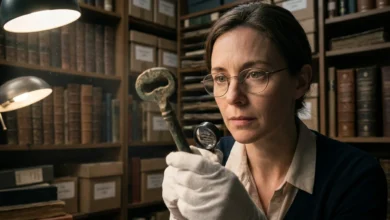
The first step in any successful restoration is a thorough assessment. Begin by examining the item under good lighting and magnification. Create a written condition report that notes every defect including cracks, losses, stains, discoloration, previous repairs, and structural weaknesses. Photograph the item from multiple angles including close-ups of all damage. Research the item’s original construction, materials, and finishes using reference books, online databases, or expert consultation. This research phase is critical because different historical periods used different adhesives, finishes, and construction techniques. For example, furniture from the 18th century typically used hide glue and shellac, while mid-20th century items might use synthetic lacquers. Understanding original materials allows you to select restoration strategies that are historically appropriate and chemically compatible.
Material-Specific Restoration Strategies
Different materials require completely different restoration approaches. The table below provides a comprehensive overview of strategies for common collectible materials.
| Material | Common Damage | Recommended Strategy | Tools Required | Reversibility |
|---|---|---|---|---|
| Wood | Scratches, dents, finish loss | French polish with shellac; steam raising for dents | Shellac flakes, denatured alcohol, rubbing block | High |
| Wood | Wormholes, cracks | Consolidate with Paraloid B-72; fill with tinted wax | Syringe, wax sticks, bone folder | High |
| Metal (Iron) | Rust, corrosion | Electrolytic reduction or chelation (Evaporust) | DC power supply, sacrificial anode, plastic tub | Moderate |
| Metal (Silver) | Tarnish, light scratches | Hand polishing with silver cloth; avoid dips | Silver polishing cloth, precipitated chalk | High |
| Metal (Brass/Copper) | Patina, green corrosion | Microcrystalline wax; light polishing only | Renaissance Wax, soft cotton cloth | High |
| Ceramics | Chips, cracks, missing pieces | Paraloid B-72 for bonding; epoxy putty for fills | Acetone, epoxy putty, acrylic paints | Moderate |
| Glass | Chips, cracks, cloudiness | No polishing; bond with Hxtal NYL-1 | UV lamp, Hxtal adhesive, mixing cups | Moderate |
| Paper | Tears, stains, acidity | Japanese paper repairs; deacidification spray | Wheat starch paste, Japanese tissue, Bookkeeper spray | High |
| Textiles | Holes, fading, weakness | Support stitching; vacuum cleaning; UV protection | Cotton thread, muslin, conservation vacuum | High |
| Leather | Dryness, red rot, cracking | Klucel G consolidation; Cellugel application | Klucel G powder, ethanol, brush | Moderate |
| Plastics | Yellowing, tackiness | Dry cleaning only; no solvents; cold storage | Microfiber cloth, silica gel, archival box | Low |
| Paintings | Yellowed varnish, flaking | Solvent testing; consolidate flakes; remove varnish | Cotton swabs, conservation solvents, MS-2A | Moderate |
| Clocks/Mechanisms | Sticking, wear | Light oiling (clock oil); no WD-40 | Clock oil, pegwood, hand blower | High |
Cleaning Strategies That Protect Value
Cleaning is often the first visible restoration step, but aggressive cleaning is the number one cause of value loss in collectibles. The safest approach is dry cleaning using soft brushes, cosmetic sponges, or vinyl erasers. For surface dust on most materials, a soft bristle brush or compressed air at low pressure is sufficient. For stubborn dirt on durable surfaces like glazed ceramics or glass, distilled water with a tiny amount of mild soap (Orvus Paste is the conservation standard) can be used sparingly. Never immerse any collectible in water unless you are certain all materials are water-stable. Never use household cleaners, vinegar, baking soda, bleach, alcohol (unless specified), or abrasive powders. These products remove original patinas, etch surfaces, leave residues, and cause irreversible chemical changes. For valuable items, consider that original dirt may be historically significant or may be concealing original surface treatments.
Structural Repairs and Filling Missing Areas
When collectible items have structural damage, you must choose adhesives and fill materials carefully. For wooden objects, traditional hide glue remains superior because it is reversible with heat and moisture. For ceramics, glass, and metal, Paraloid B-72 dissolved in acetone creates strong reversible bonds. For missing areas, fill materials should be distinguishable from the original when examined closely. Professional conservators use tinted epoxy putties for ceramics, wax-based fills for wood, and acrylic pastes for painted surfaces. The fill should be slightly recessed or tinted a distinguishable color so future conservators can identify it. This ethical approach prevents forgery while improving appearance. For structural reinforcements, use materials that are stronger than the original but applied in reversible ways. For example, a cracked ceramic vessel might receive an internal fiberglass and epoxy patch that can be removed with acetone.
Surface Finishing and Inpainting Strategies
Reintegrating lost surface finish is among the most skilled restoration techniques. For wooden furniture, French polishing with shellac produces a beautiful, reversible finish that can be built up in thin layers. Never use polyurethane, epoxy, or varnish on antique wood because these finishes cannot be removed without destroying the original surface. For painted surfaces like ceramics or paintings, inpainting should use reversible media such as acrylic paints or watercolors. The retouching should match the surrounding area under normal lighting but should be distinguishable under ultraviolet light or magnification. This “visual compensation without forgery” approach maintains the item’s integrity while making damage less noticeable. For metal objects, consider whether polishing is truly necessary. Many collectors value the natural patina that develops over decades or centuries. Aggressive polishing removes this history and can reduce value significantly.
Preventing Future Deterioration
Restoration is incomplete without a preservation plan. Environmental control is the most important factor in preventing future damage. Maintain stable temperature between 60 and 70 degrees Fahrenheit. Maintain relative humidity between 40 and 55 percent. Avoid basements, attics, garages, and exterior walls where temperature and humidity fluctuate dramatically. Ultraviolet light from sunlight and fluorescent bulbs causes fading and embrittlement. Use UV-filtering glazing on frames and display cases. For storage, use only archival-quality boxes, tissues, and folders. Never store collectibles in newspaper, cardboard, bubble wrap, or PVC plastic, which release damaging chemicals over time. For textiles, roll rather than fold when possible, or use padded hangers. For metals, apply a thin layer of microcrystalline wax such as Renaissance Wax. Inspect all collectibles every six months for signs of new damage including insect activity, mold, or corrosion.
Common Mistakes That Destroy Value
Learning to avoid common errors is as important as learning proper techniques. The most destructive mistakes include over-cleaning which removes desirable patina, using super glue or epoxy which creates irreversible bonds, sanding original surfaces, refinishing with modern polyurethane, polishing silver with abrasive dips, washing vintage textiles, forcing stuck mechanisms, and storing items in inappropriate environments. Another frequent error is replacing original components with modern reproductions. A Victorian clock with an original cracked glass crystal is often more valuable than the same clock with a perfect modern replacement. Similarly, furniture with original finish loss but no overpaint is worth more than poorly refinished pieces. When in doubt about any intervention, do nothing. Safe storage while you research proper techniques is always better than rushed, damaging restoration.
When to Hire a Professional Conservator
While many restoration strategies can be performed by careful amateurs, certain situations require professional expertise. Hire a professional conservator if the item has significant monetary value exceeding five hundred dollars, museum-quality importance, complex structural issues, hazardous materials such as lead paint or arsenic, or if previous restoration attempts have failed. Also seek professional help if the item has significant sentimental value or if you lack experience with the specific material. Professional conservators complete graduate-level training and adhere to strict ethical codes. Find qualified conservators through the American Institute for Conservation or similar organizations in your country. Ask for references, examples of past work, and a written treatment proposal before any work begins. Professional conservation costs may seem high, but improper amateur restoration can reduce an item’s value by ninety percent or more.
Documentation and Ethics of Restoration
After completing any restoration, document everything you did. Photograph the item before, during, and after treatment. Write a detailed report describing all materials, methods, and decisions. Store this documentation with the item or within your collection records. This transparency is a professional practice that protects future value and maintains ethical standards. If you ever sell the item, disclose all restoration work honestly. Concealed restoration is considered fraud in the antiques trade and can result in legal liability. Conversely, documented, reversible restoration performed with appropriate materials can increase buyer confidence and value. Many sophisticated collectors prefer items with documented sympathetic restoration because the documentation proves authenticity and responsible ownership.
Conclusion
Mastering collectible item restoration strategies requires patience, research, and respect for historical integrity. The most successful restorers understand that less is almost always more. Prioritize conservation over restoration, reversible methods over permanent alterations, and documentation over secrecy. Whether you are cleaning a inherited pocket watch, repairing a cracked ceramic vase, stabilizing a faded photograph, or refinishing a family heirloom chair, the principles in this guide will help you make informed decisions. Remember that every collectible item carries the story of its making, use, and journey through time. Your role as a restorer is not to erase that story but to ensure it can continue for future generations. Start with inexpensive practice pieces, build your skills gradually, and never hesitate to consult professionals for valuable or complex items. With proper strategies, your restored collectibles will bring joy, historical connection, and financial value for decades to come.
Frequently Asked Questions (FAQs)
Q1: Does restoration increase or decrease an antique’s value?
Professional, minimal, reversible restoration typically maintains or increases value by stabilizing deterioration and improving appearance. Aggressive, irreversible restoration almost always decreases value, often substantially. Original condition with minor damage is usually preferable to poor restoration. Consult an appraiser before undertaking major restoration.
Q2: What is the safest way to clean old coins?
Never clean collectible coins. Cleaning removes the natural patina that numismatists use to authenticate and grade coins. Even gentle cleaning reduces value significantly. If a coin is dirty from burial, consult a professional conservator. For most coins, no cleaning is the correct approach.
Q3: Can I use WD-40 on stuck antique mechanisms?
Never use WD-40 on any collectible mechanism. WD-40 leaves sticky residues that attract dust and harden over time, causing more damage. For clock mechanisms, use only proper clock oil applied sparingly. For other mechanisms, consult a specialist. When in doubt, do not lubricate.
Q4: How do I remove white rings from antique wood furniture?
White rings are moisture marks in the finish, not the wood. Gently rub the area with denatured alcohol on a cotton swab to re-amalgamate shellac, then immediately wipe. For lacquered finishes, this method will fail. Test in an inconspicuous area first. If uncertain, consult a furniture conservator.
Q5: Is it safe to iron vintage documents to remove wrinkles?
Never iron paper documents directly. Heat accelerates paper degradation and can melt inks or adhesives. For flattening documents, use a humidification chamber followed by pressing between blotting paper under weights. This slow, gentle method is safe and reversible.
Q6: How can I learn professional restoration techniques without going to graduate school?
Community college courses in furniture repair, online workshops offered by conservation organizations, museum volunteer programs, and apprenticeship with established restorers all provide valuable training. Books by professional conservators offer excellent guidance. Always practice on inexpensive items before working on valuable collectibles.