Vintage Object Restoration Analysis: A Comprehensive Guide to Preserving History
Introduction
Vintage object restoration analysis is a meticulous process that combines art, science, and historical preservation to breathe new life into aging artifacts. From antique furniture and classic cars to retro electronics and heirloom jewelry, the restoration of vintage items requires a systematic approach to assess damage, determine authenticity, and apply appropriate conservation techniques. This article provides an in-depth analysis of vintage object restoration, covering methodologies, material considerations, ethical dilemmas, and practical steps for both professionals and enthusiasts.
Understanding Vintage Object Restoration Analysis
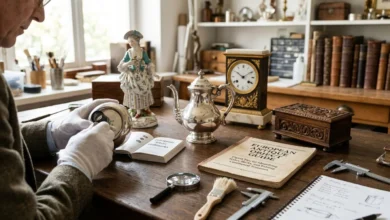
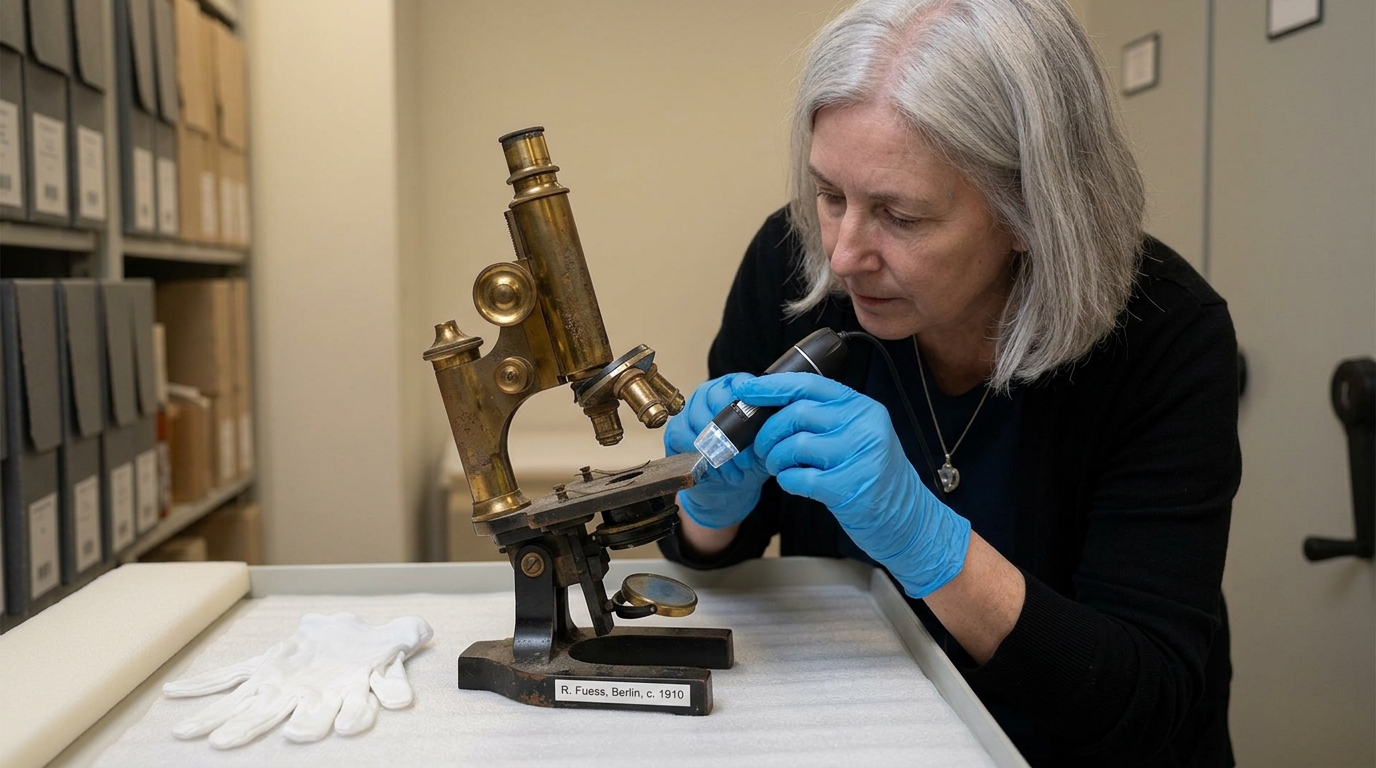
Restoration analysis begins with a thorough examination of the object’s current condition. This involves documenting every scratch, crack, tarnish, and structural weakness. Professionals use tools such as magnifying loupes, UV lights, moisture meters, and X-ray fluorescence spectrometers to uncover hidden issues. The goal is not simply to make an object look new but to preserve its historical integrity while ensuring functionality and aesthetic appeal.
Key Components of Restoration Analysis
Condition Assessment involves categorizing damage into physical, chemical, and biological types. Physical damage includes cracks, dents, and missing parts. Chemical damage refers to corrosion, fading, or discoloration from oxidation or acid migration. Biological damage covers mold, woodworm, or insect infestation.
Material Identification is critical because different materials require distinct restoration methods. Wood, metal, glass, ceramic, textile, leather, and plastic each demand specific cleaning agents, adhesives, and finishing techniques.
Authenticity Verification ensures that restoration efforts respect the original craftsmanship. This includes analyzing construction methods, joint types, fastener styles, and surface finishes typical of a particular era.
Step-by-Step Restoration Analysis Process
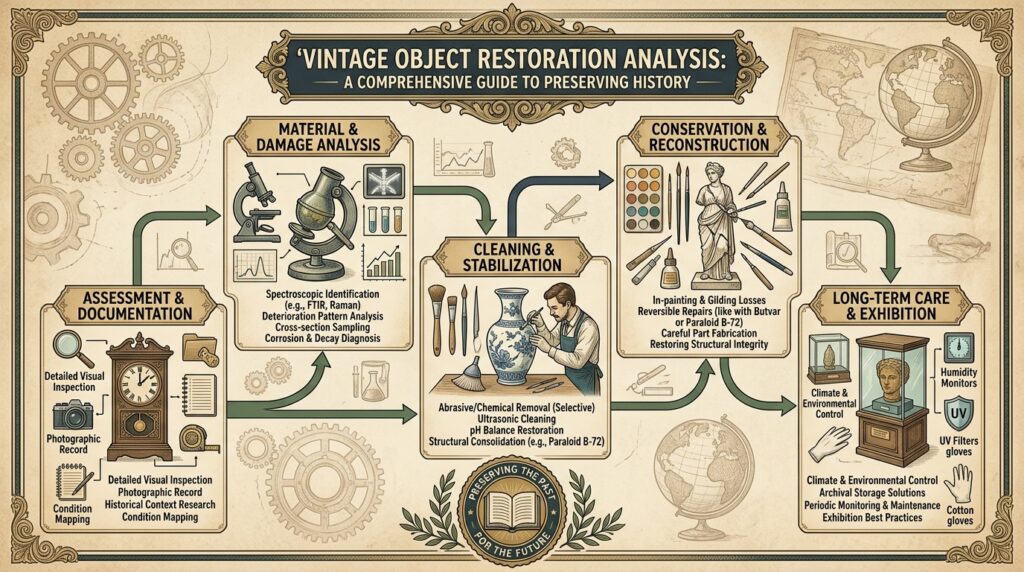
Phase 1: Documentation and Photography
Before any physical intervention, the restorer must photograph the object from multiple angles, including close-ups of damage areas. Written notes should describe color, texture, dimensions, and any markings or signatures. This baseline record guides decision-making and serves as legal proof of original condition.
Phase 2: Cleaning Assessment
Not all dirt is harmful. Surface grime may actually protect original patina. Restorers test small hidden areas with gentle solvents like distilled water, mineral spirits, or specialized cleaning solutions. Abrasive methods like sandblasting are rarely recommended for vintage items.
Phase 3: Structural Integrity Evaluation
Using probes and tapping tests, the restorer assesses loose joints, weakened frames, or brittle components. For metal objects, rust scale indicates active corrosion requiring stabilization. For wooden items, moisture content above 12% suggests risk of further warping or rot.
Phase 4: Decision Matrix for Intervention
Restorers choose between three levels of intervention:
- Conservation: Minimal intervention to stabilize current condition without replacing original material.
- Restoration: Rebuilding missing parts using historically accurate materials and techniques.
- Repurposing: Modifying the object for new use while retaining vintage character (controversial among purists).
Material-Specific Restoration Techniques
Wood Restoration
Vintage wooden objects face issues like cracked lacquer, water rings, and loose joinery. Analysis begins with identifying wood species and original finish (shellac, varnish, oil, or wax). Steam can reverse minor dents by swelling compressed wood fibers. Hide glue is preferred over modern PVA because it remains reversible with heat and moisture. For missing veneer, restorers match grain patterns and use period-appropriate animal glues.
Metal Restoration
Iron, brass, copper, silver, and pewter each react differently to oxidation. Analysis includes testing pH levels and conductivity. Electrolytic reduction is a non-abrasive method for removing rust from iron artifacts while preserving original surfaces. Silver tarnish is chemically reduced with aluminum foil and baking soda rather than polishing, which removes metal over time. For patinated bronze, restorers apply microcrystalline wax to seal without altering color.
Ceramic and Glass Restoration
Cracks in vintage pottery or porcelain are stabilized with cyclododecane, a temporary adhesive that allows precise alignment before permanent bonding. UV-curable resins with similar refractive indices to glass make invisible repairs for crystal or stained glass. Missing ceramic pieces may be filled with epoxy putty tinted to match, but major gaps often require casting replacement parts from original molds if available.
Textile and Leather Restoration
Fabric analysis identifies fiber type through burn tests or microscopic examination. Silk and wool are protein-based and degrade in alkaline conditions, while cotton and linen are cellulose-based requiring neutral pH cleaning. Leather restoration involves cleaning with saddle soap, rehydrating with neatsfoot oil, and filling cracks with leather binder. Original stitching is preserved using linen thread dyed with natural plant extracts.
Ethical Considerations in Vintage Restoration
The restoration community debates several ethical principles derived from conservation charters like the Venice Charter (1964) and Burra Charter (2013). Key questions include:
How much replacement is too much? The “original material threshold” suggests that if more than 30% of an object is replaced, it becomes a reproduction rather than a restored vintage piece.
Should patina be removed? Patina—the natural aging layer—is often more historically valuable than a shiny new surface. Removing it destroys evidence of age and use.
Is reversible restoration always better? Modern adhesives like epoxy are stronger but irreversible. Traditional hide glue is weaker but allows future restorers to undo previous work.
What about safety upgrades? Rewiring a vintage lamp with modern grounded cords prevents fire hazards but reduces historical authenticity. Many restorers compromise by adding hidden safety features that do not alter visible original elements.
Common Mistakes in Vintage Object Restoration
Novice restorers frequently commit errors that permanently devalue antique objects. Using steel wool on brass leaves microscopic iron particles that later cause rust staining. Applying polyurethane varnish over shellac creates a cloudy, unremovable layer. Throwing away broken original parts because replacements seem easier discards potential for invisible repairs. Sanding off all surface texture removes evidence of hand-planing or hammer marks that prove age. Storing restored objects in basements or attics with temperature swings accelerates new deterioration cycles.
Tools and Equipment for Restoration Analysis
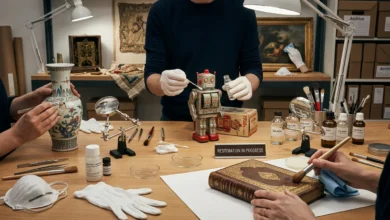
Professional restorers maintain specialized kits including:
- Stereo microscopes for examining tool marks and weave patterns
- Moisture meters with pin-type and pinless sensors
- pH test strips for identifying acid migration in paper or textiles
- Dental picks and scalpels for precise cleaning
- Vacuum suction tables for flattening documents or textiles
- Fume extractors for solvent-based cleaning
- Conservators’ vacuum cleaners with adjustable suction
Cost Analysis of Vintage Restoration
Restoration costs vary widely based on object rarity, damage extent, and specialist availability. A simple chair regluing may cost 150−300, while rebuilding a Chippendale highboy’s carved leg exceeds 2,000.Porcelainteacupcrackrepairaverages50-100pervisibleline.Vintageguitarneckstraighteningandfretreplacementruns400-$800. Before committing to restoration, owners should obtain written estimates and ask whether the restored value exceeds restoration cost. Sentimental value often overrides financial logic, but clear documentation prevents future disputes.
When Not to Restore
Some objects should remain unrestored. Archaeological artifacts gain research value from their context-laden corrosion and breakage. Objects already heavily restored by previous owners may have lost all original fabric. Items so fragile that any intervention causes shattering belong in archival storage with climate control. Finally, objects with dangerous materials like asbestos insulation or lead paint require professional hazardous material abatement before restoration begins.
Future Trends in Vintage Restoration Analysis
Technology is transforming restoration analysis. 3D scanning creates digital models for replication of missing parts without touching the original. Artificial intelligence algorithms compare damage patterns against databases of similar objects to suggest optimal cleaning methods. Nanomaterials like calcium hydroxide nanoparticles consolidate crumbling stone or wall paintings at molecular levels. However, these innovations raise new ethical questions about whether digital surrogates reduce the value of physical originals.
FAQs About Vintage Object Restoration Analysis
Q1: How do I know if a vintage object is worth restoring professionally?
A: Assess three factors: original value (rarity, maker, era), sentimental value, and restoration cost. Get two independent appraisals and compare the estimated restored value against the quoted restoration price. If restoration cost exceeds post-restoration value by more than 30%, consider DIY minimal conservation instead.
Q2: Can I restore a vintage object myself without training?
A: Yes for simple tasks like dusting, mild cleaning with appropriate products, and tightening loose screws. No for structural repairs, chemical cleaning, or any intervention involving toxic solvents. Start with inexpensive objects that have no emotional or financial value to practice technique.
Q3: How long does a typical restoration analysis take?
A: A basic visual inspection requires 30-60 minutes. Comprehensive analysis including material testing, documentation, and written condition report takes 2-8 hours depending on object complexity and size. Large furniture pieces or entire collections may require multiple days.
Q4: What is the difference between restoration and conservation?
A: Conservation focuses on stabilizing current condition with minimal intervention, often leaving visible signs of age. Restoration actively replaces missing parts and returns appearance toward original state. Conservation is preferred for museum artifacts; restoration for functional vintage items used in daily life.
Q5: How do I find a qualified vintage object restorer?
A: Search through professional organizations like the American Institute for Conservation (AIC), the Institute of Conservation (ICON) in the UK, or the International Institute for Conservation (IIC). Ask for portfolios showing before-and-after work, client references, and written restoration proposals specifying methods and reversible materials.
Q6: Will restored vintage objects lose their antique value?
A: Skillfully executed, documented restoration using reversible methods maintains or increases value. Poor restoration using modern materials and non-reversible techniques destroys value. Always photograph each step and retain original detached fragments even if not reattached.
Q7: How often should restored objects be re-evaluated?
A: Annually for functional items like chairs or clocks. Every three to five years for display-only ceramics or textiles. Immediately if you notice new cracks, odors, powdery residues, or insect activity. Climate-controlled storage extends periods between re-evaluations.
Conclusion
Vintage object restoration analysis is a discipline that respects the past while enabling functional futures. Whether preserving a family heirloom or preparing antique inventory for sale, systematic assessment prevents irreversible errors. The best restorers know not only how to fix what is broken but also when to leave well enough alone. By combining scientific testing, historical research, and ethical restraint, restoration analysis ensures that vintage objects continue telling their stories for generations to come.