Historical Object Comparison Guide: How to Evaluate Artifacts Across Eras
Introduction
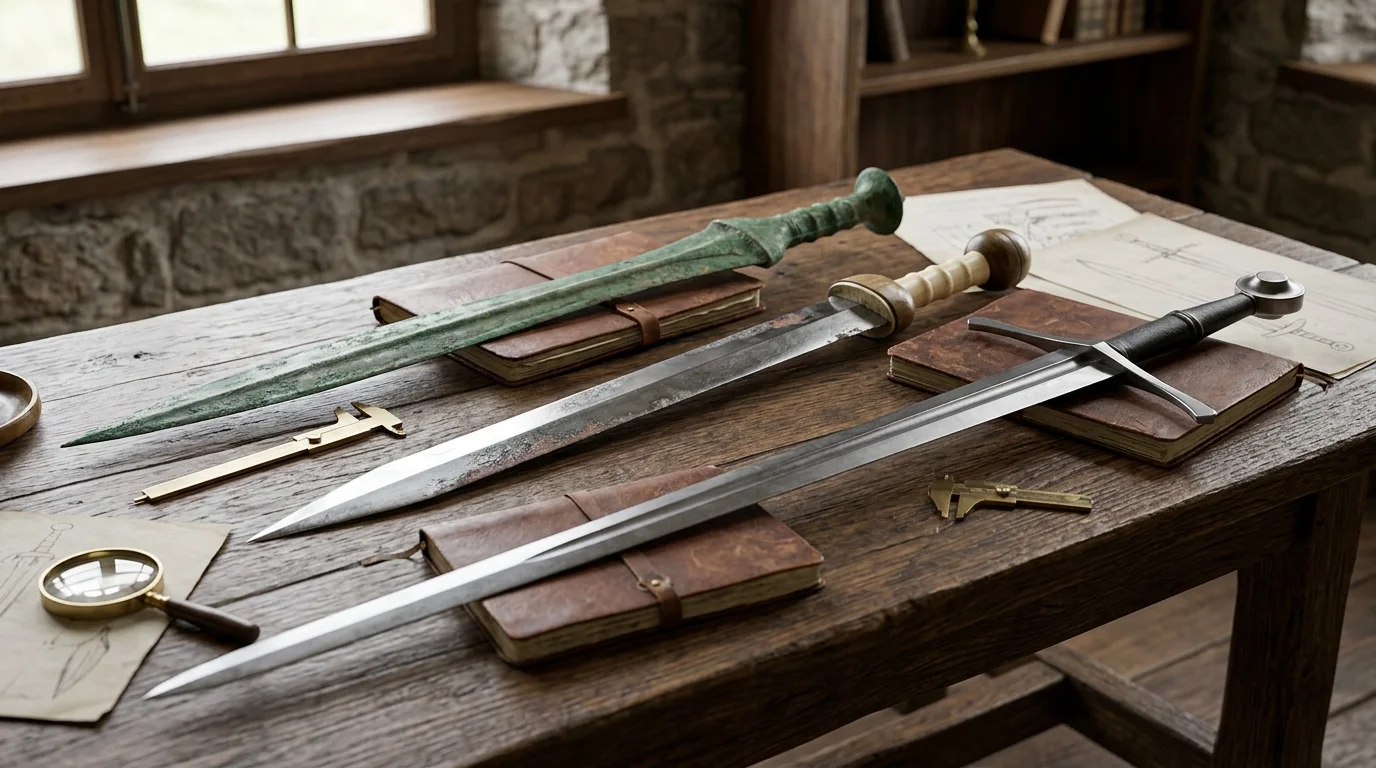
A historical object comparison guide is an essential tool for collectors, museum professionals, and history enthusiasts. Comparing artifacts from different periods requires systematic observation of materials, manufacturing techniques, wear patterns, and stylistic elements. This historical object comparison guide delivers a repeatable methodology to distinguish an 18th-century ceramic from a 20th-century reproduction, evaluate metalwork authenticity, and assign relative chronologies to undated objects.
Why Use a Historical Object Comparison Guide
Without structured comparison, even experienced eyes can mistake a Victorian revival piece for a Georgian original. A historical object comparison guide helps you:
- Identify anachronistic materials or techniques
- Establish provenance through physical evidence
- Avoid costly acquisition errors
- Train staff or volunteers in basic artifact identification
- Prepare scholarly descriptions for exhibition catalogs
Core Comparison Categories
This historical object comparison guide organizes analysis into six fundamental categories:
1. Material Composition
Different eras favored specific materials. Pre-industrial objects show natural variations. Machine-made uniformity suggests post-1850 manufacture. Use this historical object comparison guide to note primary material (wood, ceramic, glass, metal, textile), secondary materials (adhesives, inlays, finishes), and material purity.
2. Manufacturing Technique
Hand-wrought objects exhibit asymmetries, tool marks, and irregular joins. Machine-made objects display perfect symmetry, uniform thickness, and seam lines. Casting methods changed from sand casting (ancient–19th century) to die casting (post-1880) to investment casting (post-1940).
3. Surface Treatment and Patina
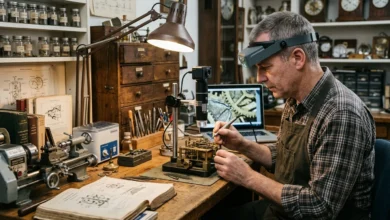
Natural patina develops slowly through oxidation, handling, and environmental exposure. Artificial patina appears uniform, sits on the surface, and often rubs off. This historical object comparison guide recommends a 10x loupe to examine patina at microscopic levels.
4. Construction and Joinery
Dovetail joints became common in furniture after 1650. Machine-cut dovetails (uniform width, evenly spaced) appear after 1860. Hand-cut dovetails (variable width, irregular spacing) indicate earlier manufacture. Nail types also help: wrought nails (pre-1800), cut nails (1800-1890), wire nails (post-1890).
5. Wear Patterns and Use Evidence
Authentic wear concentrates on high-contact areas: bottoms of ceramics, rims of glassware, armrests of chairs, handles of tools. Artificial wear appears random or evenly distributed. This historical object comparison guide stresses that wear must be consistent with the object’s purported function.
6. Stylistic Features and Decoration
Stucco, slip trailing, and sgraffito appear on Renaissance pottery. Transfer printing emerged in the 1750s on English ceramics. Lithography replaced engraving after 1830. Understanding these stylistic markers is central to any historical object comparison guide.
Comparative Table: Era-by-Era Material and Technique Matrix
| Historical Period | Dominant Materials | Primary Techniques | Typical Patina | Authentication Red Flags |
|---|---|---|---|---|
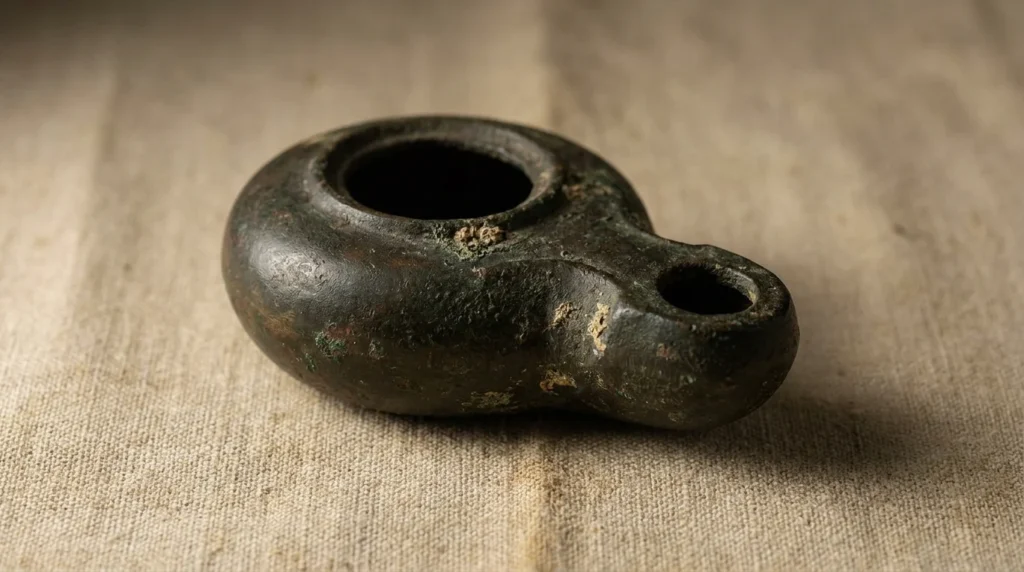
| Ancient (pre-500 CE) | Terracotta, bronze, glass | Hand-forming, lost-wax casting | Heavy mineralization, iridescence | Perfect symmetry, modern tool marks |
| Medieval (500-1400) | Iron, wood, pottery | Forging, hand-turning, slab building | Deep oxidation, surface crazing | Uniform wall thickness, no forging flaws |
| Renaissance (1400-1600) | Bronze, marble, maiolica | Casting, carving, tin-glazing | Smooth brown patina on bronze | Bright metal showing through patina |
| Baroque (1600-1720) | Gilt wood, silver, tortoiseshell | Carving, repoussé, veneering | Dark amber varnish on wood | Plastic-looking gilding, no shrinkage cracks |
| Georgian (1720-1830) | Mahogany, silver plate, soft-paste porcelain | Hand-cut dovetails, turning, press-molding | Craquelure in glaze, rubbed edges on silver | Machine-cut dovetails, modern screw heads |
| Victorian (1837-1901) | Cast iron, majolica, rosewood | Machine planing, transfer printing, electroplating | Uniform wear, factory-applied finish | No wear on high-contact areas, perfectly fresh patina |
| Art Deco (1920-1940) | Chrome, Bakelite, laminated wood | Die-casting, molding, plywood bending | Minor scratching, metal oxidation (not rust) | Perfectly uniform surface, no tool marks |
| Mid-Century (1945-1970) | Fiberglass, plastic, plywood | Injection molding, bent plywood | Light abrasion, yellowing of clear coatings | Brand-new plastic smell, no UV yellowing |
Step-by-Step Historical Object Comparison Methodology
Step 1: Initial Observation
Place the object on a neutral gray background under daylight-equivalent lighting (5000K). Photograph from six angles: front, back, top, bottom, left, right. Record overall dimensions and weight.
Step 2: Material Identification
Use a magnet for metal (iron/steel attracts, brass/copper does not). Perform a specific gravity test for stone. For ceramics, inspect unglazed bases to see clay body color and texture. This historical object comparison guide notes that red clay suggests pre-1800 coarse wares; white clay suggests post-1800 refined wares.
Step 3: Tool Mark Analysis
Examine surfaces under magnification. Scratches should follow the shape of the object (circular on lathe-turned items, linear on planed surfaces). Modern sanding disks leave swirling scratches. Hand-planed surfaces have slight undulations.
Step 4: Joinery and Fastener Inspection
Check all screws: hand-cut screws have uneven threads and blunt ends; machine-cut screws (post-1846) have sharp points and uniform threads. Check nails: square-shank cut nails with a sheared head indicate 1800-1890. Round wire nails with a stamped head indicate post-1890.
Step 5: Finish and Surface Analysis
For wooden objects, test finish with a cotton swab and denatured alcohol. Shellac dissolves (pre-1920s). Lacquer dissolves but more slowly (1920s-1960s). Polyurethane does not dissolve (post-1960s). For ceramics, inspect glaze hardness: a steel knife scratches soft-paste porcelain (pre-1800) but not hard-paste porcelain.
Step 6: Comparative Cross-Referencing
Compare your findings against known dated examples from museum databases (British Museum, Met, V&A). This historical object comparison guide recommends using the Portable Antiquities Scheme for common artifacts.
Common Forgeries and How This Historical Object Comparison Guide Detects Them
Forgery Type: New ceramic aged with dirt
Detection: Uniform dirt application (not concentrated in crevices). Authentic dirt aligns with gravity and handling.
Forgery Type: Furniture assembled from old parts
Detection: Inconsistent joinery (hand-cut dovetails on drawer sides but modern screws on drawer bottom). Wood color variation under finish.
Forgery Type: Artificial metal patina
Detection: Patina that powders off, sits on surface, or fails to penetrate crevices. Genuine patina is thinnest on raised areas, thickest in recesses.
Forgery Type: Repro glass with acid-etched wear
Detection: Acid-etched surfaces have a dull, matte, uniformly textured appearance. Genuine wear shows fine, parallel scratches that catch light directionally.
Digital Tools to Complement This Historical Object Comparison Guide
- ObjectID – International standard for describing cultural objects
- Comparative Material Libraries – Online databases of metal, ceramic, and plastic reference samples
- XRF Analyzers – Portable devices that identify elemental composition (used by professional authenticators)
- RTI (Reflectance Transformation Imaging) – Captures surface micro-topography for tool mark comparison
Case Study: Applying the Historical Object Comparison Guide
Object: Alleged 1770 American pewter plate
Comparison against known period examples:
- Weight: 580g (period pewter: 450-500g) – too heavy
- Thickness: 4mm uniform (period: hand-rolled, variable 2-5mm) – suspiciously uniform
- Marks: Modern “touch mark” stamped, not struck with period inconsistency
- Patina: Uniform gray (period: variable gray-silver with dark oxidation in rim scratches)
- Verdict: 1950s reproduction
Preservation During Comparison
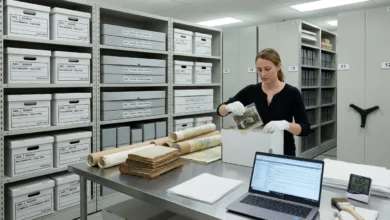
When using this historical object comparison guide, always handle objects with clean cotton gloves. Never place comparative objects directly against each other (use foam spacers). Do not apply any liquid, marker, or adhesive to the object during analysis. For extended study, support ceramics and glass with padded cradles.
Limitations of Visual Comparison
This historical object comparison guide does not replace scientific dating (thermoluminescence for ceramics, dendrochronology for wood, radiocarbon for organics). If an object’s value exceeds $5,000 or the item is legally protected (antiquities, sacred objects), consult a professional conservator or authenticator.
Conclusion
A systematic historical object comparison guide transforms guesswork into evidence-based analysis. By examining materials, techniques, patina, joinery, wear, and style, you can confidently place objects on a chronological spectrum. Keep this guide accessible in your studio, shop, or museum workspace. Reference it every time an undocumented object crosses your table. Consistency in comparison builds expertise over time.
Frequently Asked Questions (FAQs)
Q1: What is the first step in any historical object comparison?
A1: Visual inventory under consistent lighting, recording material, dimensions, weight, and any signatures or marks before any handling or cleaning.
Q2: How do I compare two objects of the same period but different materials?
A2: Use comparative technique analysis rather than material. Check for consistent manufacturing technology (both hand-wrought or both machine-made) and consistent wear patterns relative to original function.
Q3: Can this historical object comparison guide identify exact dates?
A3: No. It provides probable date ranges (typically ±20-50 years). For exact dating, require scientific methods or maker’s marks with recorded production spans.
Q4: What magnification do I need for tool mark comparison?
A4: 10x loupe is minimum. 20x-40x stereo microscope is preferred for metal and ceramic surfaces. Avoid higher magnifications which show only microstructure without context.
Q5: How do I compare objects from cultures without written records?
A5: Rely on stratigraphic association from known archaeological sites, comparative typology (shape evolution sequences), and material sourcing (clay or stone quarries with known use periods).
Q6: What are the most frequently forged historical object categories?
A6: Coins, antique furniture, silverware, oil paintings, and ancient pottery. Always apply this historical object comparison guide before purchasing these categories.
Q7: How do I document a comparison for insurance or legal purposes?
A7: Create a written report with side-by-side photographs, measurement tables, and magnified images of tool marks, patina, and wear. Include signatures of two witnesses and date.
Q8: Is it safe to clean objects before comparison?
A8: No. Cleaning removes surface evidence crucial for comparison (original patina, tool marks, residue). Only a professional conservator should clean historical objects.