Advanced Vintage Repair Techniques: Reviving History with Modern Precision
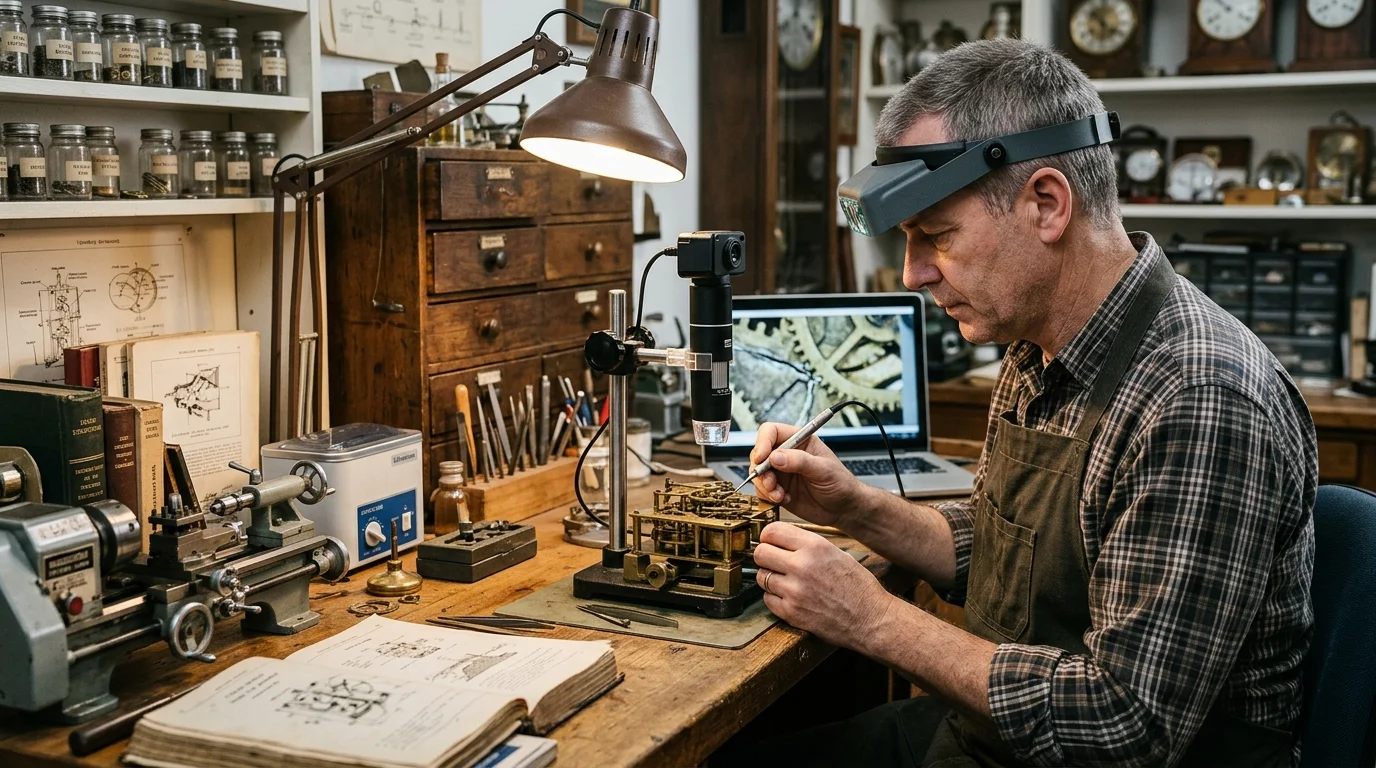
The art of vintage restoration has evolved far beyond basic wood glue and wire brushing. Today, advanced vintage repair techniques blend age-old craftsmanship with cutting-edge technology, allowing restorers to fix irreplaceable items without compromising historical integrity. Whether you are working on a classic car, an heirloom clock, or a piece of antique furniture, mastering these advanced methods is essential for preserving value and functionality.
This guide explores professional-grade strategies, from metal stitching to 3D printing, ensuring you have the knowledge to tackle the toughest restoration challenges.
1. The Blueprint for Success: Digital Documentation and Service Manuals
Before applying a single tool, advanced restorers prioritize information gathering. Unlike modern products, vintage items often lack online support forums. Your primary resource is the original service manual. These documents contain detailed schematics, tolerances, and diagnostic flowcharts that are invaluable for complex mechanisms like mechanical clocks or carburetors .
Digital Documentation: Use your phone or camera to take extreme close-ups of wiring routes, screw lengths, and part orientations before disassembly. Creating a “digital exploded view” serves as a safety net during reassembly.
2. Cold Metal Repair: Precision Metal Stitching
Welding a cracked engine block or cast-iron base is risky. High heat can warp thin sections or change the metal’s metallurgy, leading to future failure. Precision metal stitching is the advanced alternative .
This technique, developed in the 1930s, repairs cracks without heat by using a series of interlocking “stitches.”
- The Process: You drill a series of overlapping holes along the crack line, tap them, and screw in specially designed “Lock-n-Stitch” pins. These pins are tapered to lock tight and pull the crack closed.
- The Sealant: High-strength threadlocker (like red Loctite) is applied to the pins, creating a gas and liquid-tight seal.
- Application: It is widely used for cast iron, aluminum, and even bronze engine blocks or structural frames. The result is a cold repair that is often stronger than the original parent metal .
3. Prototyping and Manufacturing: Cardboard Aided Design (CAD) and 3D Printing
When a part is “unobtanium” (no longer manufactured), you must become the manufacturer. However, jumping straight to metal or plastic is inefficient without a prototype .
Cardboard Aided Design: Before machining a bracket or cutting a gasket, build it out of cardboard. You can cut, fold, and tape corrugated cardboard to test fitment in tight engine bays or complex furniture joints. Once the cardboard template fits perfectly, trace it onto your final material (steel, wood, or rubber).
3D Printing: For intricate plastic parts like gear selector buttons, gauge cluster housings, or specific emblems, 3D printing has revolutionized restoration. Specialists now use carbon-fiber-reinforced nylon or even metal printers (using titanium or stainless steel powder) to recreate structural components that are indistinguishable from factory originals .
| Technique | Best Application | Key Advantage |
|---|---|---|
| Metal Stitching | Cast iron engine blocks, cracked housings | No heat distortion, pressure-tight seal |
| Cardboard Aided Design | Brackets, complex gaskets, mounting plates | Zero material waste, perfect fitment testing |
| 3D Printing | Obsolete plastic knobs, emblems, ductwork | Precise replication of complex geometries |
4. Surface Preservation: Cleaning without Destruction
Over-restoration is the enemy of value. Removing “patina” (the natural aging of a surface) can destroy an item’s historical and monetary worth .
Non-Invasive Cleaning:
- CO2 Snow Cleaning: Used by museum conservators, this technique blasts micron-sized dry ice particles at a surface. It lifts dirt and corrosive residues (like green oxidation on brass) but does not alter the underlying patina or polished finish .
- Animal Glue Peels: For delicate surfaces like brass clock dials or Boulle marquetry (tortoiseshell and brass inlay), conservators use a modified animal glue peel. The glue is applied warm; as it dries and shrinks, it lifts varnish residues and corrosion without harsh chemicals .
Upholstery and Glass: For cleaning mildew off vintage vinyl or removing paint overspray from glass, use 0000-grade steel wool soaked in ammonia or vinegar. It is abrasive enough to remove grime but soft enough not to scratch the substrate .
5. Plastics and Optics: The Polishing Revival
Vintage plastics (like tail light lenses or acrylic watch crystals) yellow and fog due to UV degradation and micro-scratches.
The Sanding Progression: Do not simply buff the surface. Start with high-grit wet sanding (800, then 1000, then 2000) to level the scratches. Follow up with a plastic-specific polishing compound (like those used for automotive headlights) attached to a drill. This returns clarity to the lens, allowing light to pass through as intended .
Window Tracks: A common failure in vintage cars is slow power windows. This is rarely a motor failure; usually, the old white lithium grease has hardened into glue. Advanced Fix: Disassemble the regulator and scrape out the old grease. Re-lubricate with a modern synthetic grease (like wheel bearing grease), which stays pliable for decades .
6. Reversible Structural Adhesives
A cardinal rule of advanced restoration is reversibility. Never use modern PVA (white) glue or epoxy on fine furniture unless absolutely necessary, as these create permanent, brittle bonds that cannot be undone .
Hide Glue: Traditional animal-based hide glue is the standard for furniture restoration. It penetrates wood fibers deeply, but crucially, it is reversible. Applying heat and steam will soften the glue, allowing a joint to be taken apart in the future without breaking the wood.
Conclusion
Advanced vintage repair is a mindset that balances intervention with preservation. By utilizing techniques like metal stitching for structural cracks, CAD prototyping for missing parts, and museum-approved cleaning methods for surfaces, you can bring antiques back to life without erasing their history. The goal is not to make an item look “new,” but to make it look “survived”—with dignity and functionality restored for another generation.
Frequently Asked Questions (FAQs)
Q1: What is the difference between “restoration” and “preservation”?
Restoration often involves returning an item to a “like-new” state, which may require replacing old parts. Preservation focuses on maintaining the original material as much as possible. For high-value antiques, preservation (keeping the original patina) is usually preferred over full restoration .
Q2: Can I weld a cracked cast iron engine part at home?
It is risky. Cast iron requires pre-heating and specific nickel rods; if done wrong, the heat stress will cause the crack to run. For home gamers, metal stitching is a safer, cold alternative that requires only a drill and tap set .
Q3: How do I remove rust from chrome without scratching it?
Use 0000-grade super fine steel wool. It is soft enough to leave the chrome intact but firm enough to knock off rust staining. For hardware that can be removed, soaking in a commercial rust remover (like POR-15) for 24 hours will chemically dissolve the rust without any scrubbing .
Q4: Is 3D printing accepted in the vintage collector community?
For functional parts (gears, brackets, casings), yes. For visible, aesthetic parts, purists often prefer original or NOS (New Old Stock) parts. However, for parts that are impossible to find, a well-finished 3D printed part is widely accepted as a necessary repair .
Q5: Why does my antique furniture feel sticky?
This is often “blooming,” where old shellac or varnish breaks down due to moisture or alcohol. Clean it gently with a mild soap and water (not alcohol), and then feed it with a microcrystalline wax rather than a spray polish .
Q6: How do I fix a slow-moving window in a classic car?
Very likely the old grease has gummed up. Remove the door panel, clean the window regulator tracks and cables completely with brake cleaner or degreaser, and re-lubricate with a modern, low-temperature synthetic grease .